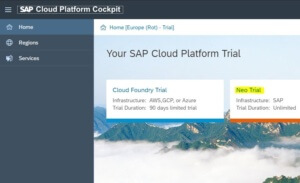
This blog is part of Learn SAP® Cloud Platform Workflow Professional Development Course here.
In this Blog, we will create and Develop a Simple Workflow from Scratch
Part 1: Start Workflow Development by setting up the Workspace and Plugin
- Step 1: In this case, we have created a separate Workspace in Full Stack Web IDE so that our other projects will be managed.
![]()
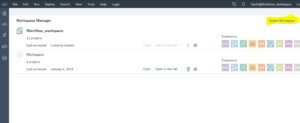
- Step 2: As we can see in below image after the selection of Workspace Manager click on Create. We can provide any name for our new Workspace.
![]()
Note: Every time when we create new Workspace again we have to Enable all the Services for the new Workspace.
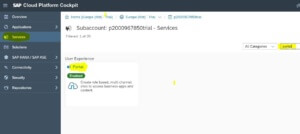
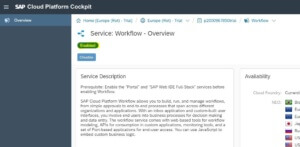
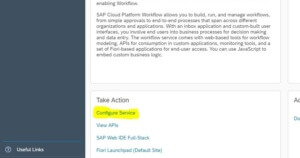
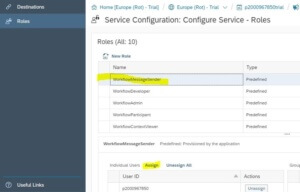
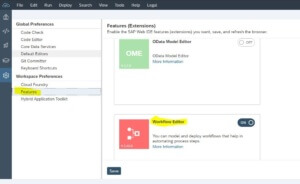
- Step 3: Enter into the new Workspace which we created and Enable the Workflow.
![]()
Part 2: Creating project
Now click on the Development tab </> in the new Workspace. After that click on file>>new>>project from a template.
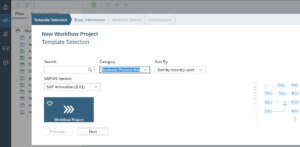
- Step 1: In the category, select Business Process Management and >>select Workflow, in that click on next(as shown in below image).
![]()
- Step 2: Provide name of the Workflow project>>Provide name also, description is not mandatory.
![]()
Note: The empty project will be created, with folder structure.
Part 3: Creating events in a project
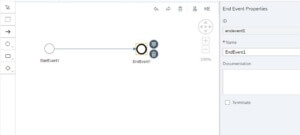
- Step 1: Select start event>>select events>> select service task>>
![]()
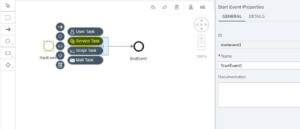
- Step 2: In Service Task there are some mandate fields which we need to provide.
![]()

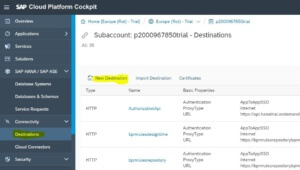
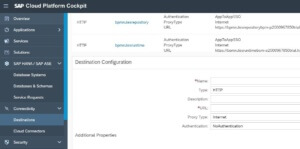
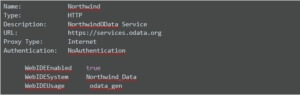
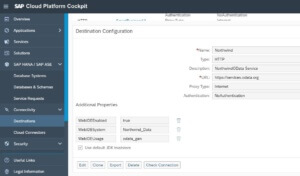
- Step 3: In Destination put the name of the Service which we have created in HANA® on Demand Cockpit. Select Method name to POST or GET, a path will be the suffix of the Northwind.
Destination : Northwind
Choose a service from: other
Path: /v3/northwind/northwind.svc/Products(3)?$format=json
Http Method : Get
Response Variable : ${context.product}

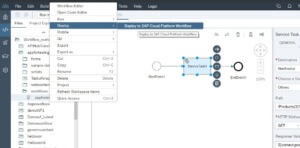
- Step 4: Now we need to deploy the Workflow. To Deploy, just right click on the Workflow and select deploy on SAP® Cloud Platform Workflow.
![]()
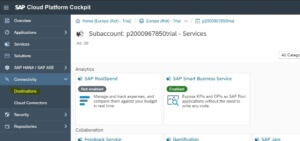
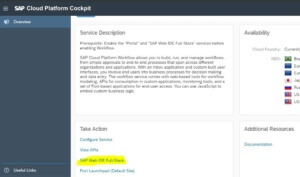
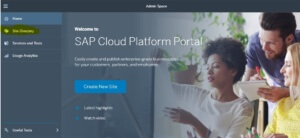
- Step 5: After successfully deployed to the portal we have to do activities, for that we need to start the portal. To do that we need to go to HANA® on Demand>>Services>>Portal>>go to service as shown in the image.
- Step 6: It will open a new tab. In that site, we have to open Site Directory.
![]()
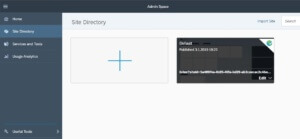
- Step 7: In that portal either we can create a new site directory or we can use the default one. In this case, we are going to use the default one.
![]()
- Step 8: As we can see there is a link in the default site directory, click on that and it will redirect us on another Portal again where we will see three most important feature for Workflow.
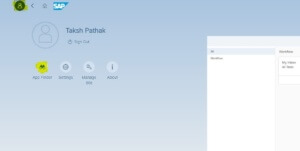
One is My Inbox, and another two is Workflow Instance and Workflow Definition. - Step 9: There we have to select the user icon>>app finder>>All. In that portal select pin to home all three apps My Inbox, Workflow Definition, and Workflow Instance. So that they will appear on Home Page.
![]()
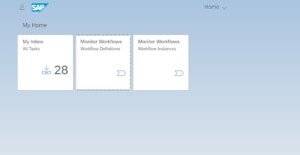
- Step 10: After the selection, those 3 apps would be present on the Home Page.
![]()
- Step 11: Click Workflow Definitions we will see our app in the list in the left panel. After that click on start new Instance.
![]()

- Step 12: Click on new Instance a prefilled data will be there (if we noticed that on above, where we are putting hardcoded product id in the path so it will give for that particular id).
Path: /v3/northwind/Northwind.svc/Products(3)?$format=json

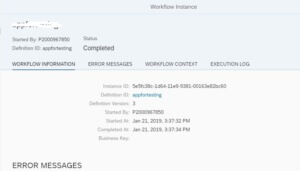
- Step 13: After that, we have to check whether it’s showing an error or it’s successfully done.
![]()
![]()
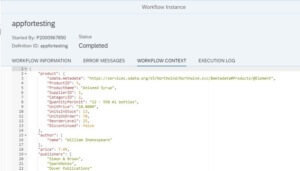
- Step 14: As we can see the above the data we get in Context.
- Step 15: Now if we want the data should come Dynamically like if we pass Id of a product, we get the same data for that Id.
- Step 16: For that, we need to do some change in the existed path.
Here’s the code just paste it in the path.
/v3/northwind/northwind.svc/Products(${context.ProductId})?$format=json

Step 17: Now change the data in an Instance in the Workflow Definition. Now if we put the Id 11, we will get the data based on productId 11.
{
  "ProductId": 11
}

This blog is part of Learn SAP® Cloud Platform Workflow Professional Development Course here.