Executive Summary:
SAP® Build Code = SAP® BAS + Joule AI Chat to build App Boiler Plate + Storyboard + Page Map + Graphical No-Code Low-Code Development Features
In the rapidly evolving landscape of enterprise application development, SAP® has introduced a game-changing combination: SAP® Business Application Studio (BAS) powered by Joule AI. This powerful integration is fundamentally transforming how developers and business users create, customize, and deploy applications on the SAP® Business Technology Platform (BTP).
The Evolution of SAP® Development
Traditional vs. AI-Powered Development
The shift from traditional development methods to AI-assisted creation represents a paradigm shift in how we approach application building:
The Old Way:
- Required significant technical knowledge to create, extend, and debug applications
- Relied on wizard-based navigation for boilerplate generation
- Demanded deep understanding of SAP® architectures and coding patterns
- Time-consuming setup and configuration processes
The New Way with Joule:
- Minimal to no technical knowledge required for app creation and extension
- Chat-like interface for AI-powered generation
- Intelligent boilerplate creation with full-stack capabilities
- Streamlined, intuitive development experience
Understanding the SAP® Build Suite Ecosystem
SAP® BAS with Joule operates within the broader SAP® Build Suite, creating a comprehensive development ecosystem on SAP® BTP:
SAP® Build Suite Components Includes
- SAP® Build Apps – Low-code UI development platform
- SAP® Build Process Automation – Workflow creation and RPA capabilities
- SAP® Build Work Zone – Unified launchpad experience
- SAP® Business Application Studio (BAS) – The core development environment enhanced with AI which is called now SAP® Build Code
How It All Works Together
The architecture creates a seamless flow:
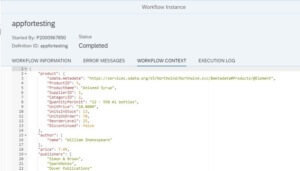
- AI Generation: Joule generates full-stack boilerplate applications within BAS
- Backend Services: Create and manage backend services efficiently
- Service Consumption: Connect UI applications to backend services
- Deployment: Deploy applications directly to SAP® BTP
- Integration: Applications can be consumed through Work Zone
- Automation: Workflows enhanced with AI add-ons through Process Automation
Getting Started: Three Practical Steps
Step 1: Setup with Booster
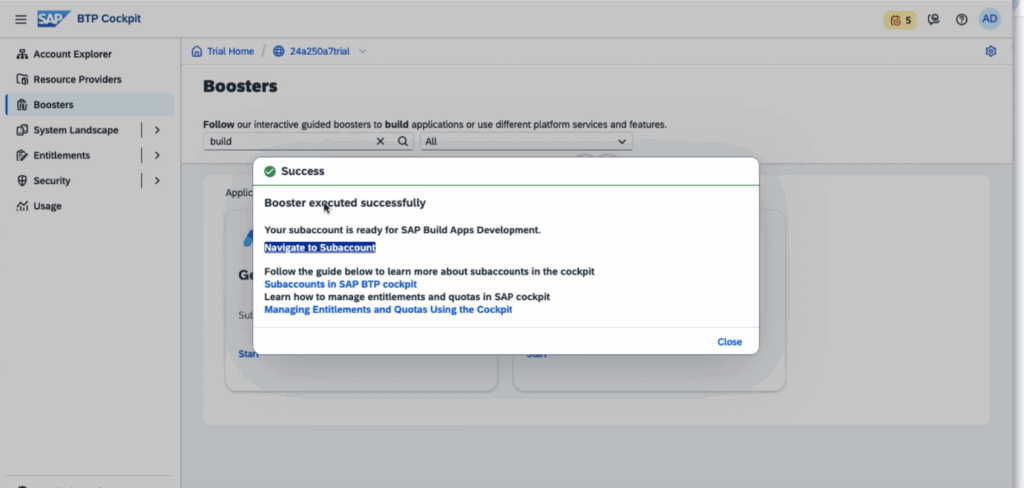
The journey begins with proper environment setup using SAP® BTP Booster. This automated configuration tool prepares your SAP® BTP environment with all necessary Services, Roles, Auth and Entitlements setup, eliminating the complexity traditionally associated with platform setup.
Step 2: Create Your New Project
This is where Joule’s AI capabilities truly shine. Instead of navigating through complex wizards or writing boilerplate code from scratch, you can:
- Describe your application requirements in natural language
- Let Joule generate the full application structure
- Receive intelligent suggestions for data models, UI patterns, and service integrations
- Start with production-ready code that follows SAP® best practices
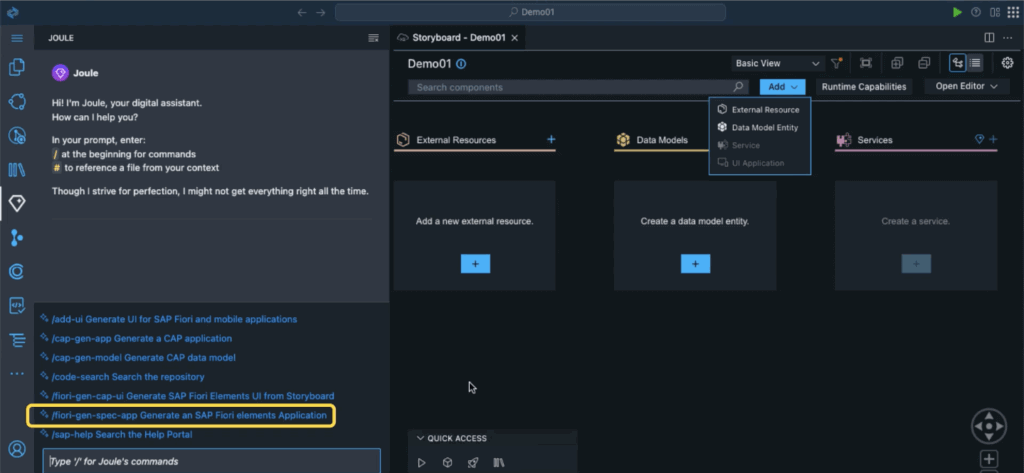
Step 3: Customization with Storyboard, Page Map and Graphical Modeller
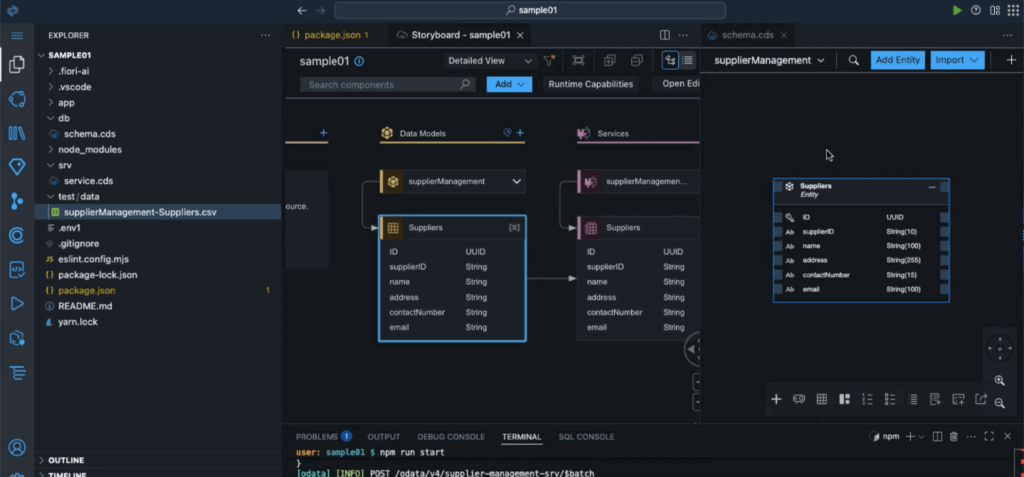
The Storyboard, Page Map and Graphical Modeller feature allows you to:
- Visualize your application architecture
- Make customizations through the UI and no-code or low-code exposure
- Extend functionality without deep technical knowledge
Storyboard (as shown in above image) will be first screen which will appear after your app is created via Joule AI, it will provide you an overview of the application. You can navigate further to Page Map which shows how different UI screens are linked. There are various graphical tools, such as the graphical schema tool and UI Annotation tool etc. to change Schema and UI respectively without Coding.
Why This Matters: The Business Impact
Low Code Development:
By reducing the technical barrier to entry, SAP® BAS with Joule enables:
- Citizen developers to create meaningful applications
- Business analysts to prototype solutions quickly
- Professional developers to focus on complex business logic rather than boilerplate code
- Organizations to accelerate their digital transformation initiatives
Accelerating Time-to-Value
The AI-powered approach dramatically reduces:
- Initial setup time from days to hours
- Development cycles from weeks to days
- Learning curves for new team members
- Maintenance overhead through standardized, well-structured code
Enhancing Quality and Consistency
Joule’s AI generation ensures:
- Adherence to SAP® best practices
- Consistent code patterns across projects
- Built-in security and performance optimizations
- Reduced technical debt from the outset
The Path Forward
The integration of AI through Joule into SAP® BAS represents more than just a feature upgrade—it’s a fundamental reimagining of how enterprise applications are created. By combining the power of conversational AI with the robustness of SAP®’s development platform, organizations can:
- Bridge the skills gap in SAP® development
- Innovate faster with rapid prototyping and iteration
- Scale development capacity without proportionally scaling team size
- Maintain quality while increasing development velocity
Summary: A New Era of SAP® Development
The journey with SAP® BAS and Joule follows a clear path:
- Setup: Quick environment preparation with automated boosters
- Getting Started: Hands-on development with AI assistance
- Wrap Up: Production-ready applications with minimal or no development
As organizations continue to demand faster digital transformation and more agile development processes, tools like SAP® BAS with Joule aren’t just nice to have—they’re becoming essential. The combination of low-code/no-code capabilities, AI-powered generation, and professional development tools creates a platform that can serve everyone from business users to expert developers.
The future of SAP® development is here, and it’s more accessible, faster, and more intelligent than ever before.
Ready to accelerate your SAP® development? Explore SAP® Business Application Studio with Joule and experience the next generation of enterprise application creation.