SAP HANA IoT and The Internet of Things
If you have not seen yet, double check the introduction and the first part of this SAP HANA IoT series.
![]()
 Today, in this article we are going to perform:
Step 1 – Connect our Arduino to a Computer and checking if the analog input is working perfectly
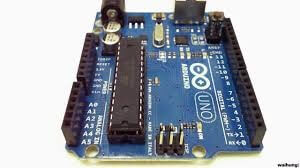
For this experiment we have photo sensors that will detect the light intensity and give the data to a computer by serial port communication.
First, install the Arduino Kit from here, to your computer. In our scenario, we will be using Windows.
It looks like this after the installation:
![]()
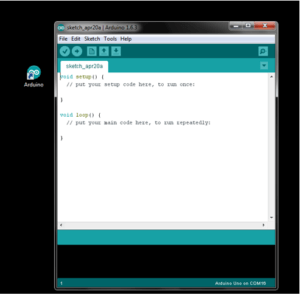
Check also the serial port which is connected to Arduino and set the right port in your installed software:
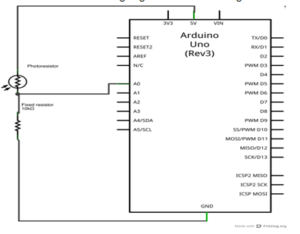
Now, for this demo we are going to follow the circuit diagram below:
![]()
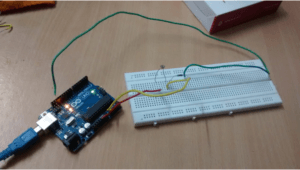
Our circuit looks like this:
![]()
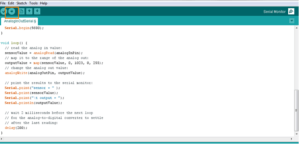
Let’s have a look at the code which takes analog input from serial output:
/*

Analog input, analog output, serial output
Reads an analog input pin, maps the result to a range from 0 to 255
and uses the result to set the pulsewidth modulation (PWM) of an output pin.
Also prints the results to the serial monitor.
The circuit:
* potentiometer connected to analog pin 0.
Center pin of the potentiometer goes to the analog pin.
side pins of the potentiometer go to +5V and ground
* LED connected from digital pin 9 to ground
created 29 Dec. 2008
modified 9 Apr 2012
by Tom Igoe
This example code is in the public domain.
*/
// These constants won’t change. They’re used to give names
// to the pins used:
const int analogInPin = A0; // Analog input pin that the potentiometer is attached to
const int analogOutPin = 9; // Analog output pin that the LED is attached to
int sensorValue = 0; // value read from the pot
int outputValue = 0; // value output to the PWM (analog out)
void setup() {
// initialize serial communications at 9600 bps:
Serial.begin(9600);
}
void loop() {
// read the analog in value:
sensorValue = analogRead(analogInPin);
// map it to the range of the analog out:
outputValue = map(sensorValue, 0, 1023, 0, 255);
// change the analog out value:
analogWrite(analogOutPin, outputValue);
// print the results to the serial monitor:
Serial.println(sensorValue);
// wait 5 milliseconds before the next loop
// for the analog-to-digital converter to settle
// after the last reading:
delay(500);
}
Here we are trying to read the analog signal from the photo sensor, via Arduino, and then Arduino will send it via serial port to the computer and use it to show the data sensor reading.
After writing the program you should upload the program to the Arduino Uno.
![]()
And now to see the magic happening, open the serial monitor in top right side of the program.
We have demonstrated the result of the step 1 in a short video: SAP HANA IoT with Arduino and Raspberry Pi.
In SAP HANA IoT With Arduino and Raspberry Pi: Part 3, we will be performing step 2.
UI5CN