Have you seen those youtube videos where people keep on falling down after putting this head gear(Oculus Rift) on ! It surely gives us laugh but it creates an interest to experience the same thing.
After seeing many such videos and pranks there has been a lot of curiosity and interest which has risen in for virtual realty.But it is not a overnight success for virtual reality, the technology and concept can be first traced back to 1935.
This picture in which you can see experience of Virtual Reality, is from the story “Pygmalion’s Spectacles” and is recognized as one of the first works of science fiction that entertain virtual reality.After that there were many occurrences of virtual reality which you might have experienced in movies as well.

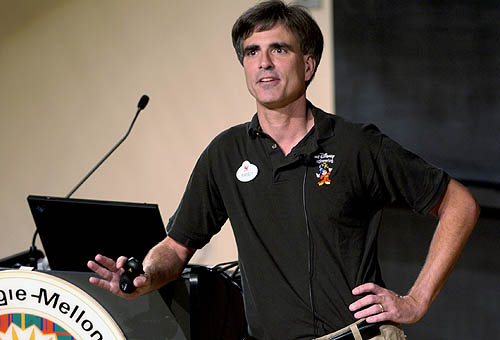
If you are familiar with “The last lecture” from Randy Pausch the awesome Virtual Reality professor who gave his last lecture to students of Carnegie Mellon then you might have seen the amazing virtual reality sessions they were used to have and the kind of advancement they already went through in early 2000’s.The excitement and passion of students and professors showed that everyone knew that they were onto something.
From what we are seeing in industry now, the mainstream software companies and giants are coming into the picture after they saw that the idea seems profitable and have enough attention of people.It is high time to put it into commercial use, the time of creating POC(proof of concept ) is over it is time to deliver something meaningful and beneficial.
